How to Grow Garlic in Pots and Containers (Plant This Fall)
Garlic is one of the few container crops that asks almost nothing of you. You plant it once in fall, mostly ignore it over winter, and dig up a full head in early summer — no succession sowing, no daily watering, no trellising. It’s also one of the most forgiving arguments for growing in pots rather than a garden bed: garlic needs a spot it won’t be disturbed for eight months, and a container tucked against a wall or railing holds that spot without taking over a shared yard or a rental’s flower bed. If you’ve never grown anything that overwinters before, this is a good first project.
This post contains affiliate links, meaning we may earn a small commission at no extra cost to you — full details are on our Affiliate Disclosure page.
Why Containers Actually Work Well for Garlic
Garlic’s biggest enemy isn’t cold or heat — it’s waterlogged soil. Bulbs rot fast if they sit wet all winter, and a container with real drainage holes solves that better than a lot of garden beds do. The tradeoff is that a container’s soil temperature swings more than the ground does — it heats up faster in a warm spell and cools down faster in a cold snap, since there’s less soil mass insulating the roots. For most of the U.S. that’s a minor thing to manage, not a dealbreaker, and the section on winter care below covers exactly how.
Container Size and Setup
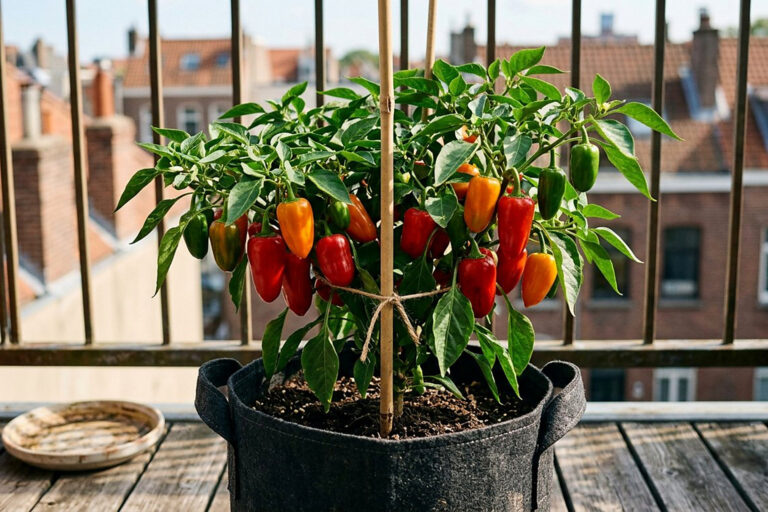
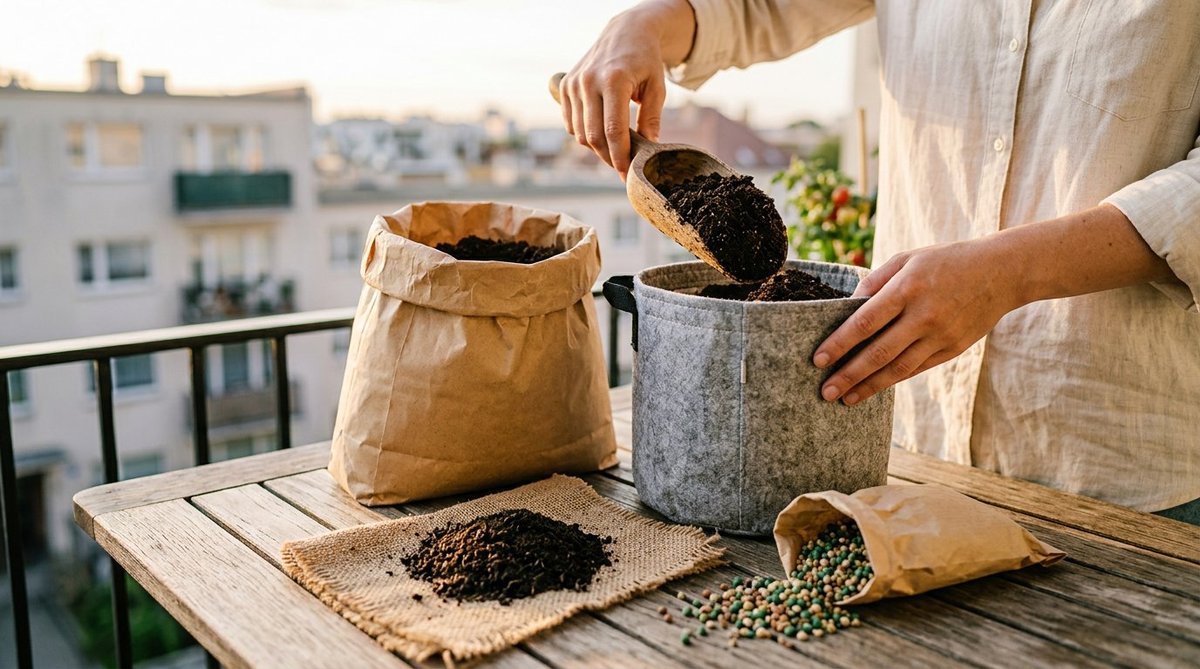
- Depth: at least 10–12 inches. Garlic roots go down before they go out, and a shallow pot stunts the bulb. A 10-gallon fabric grow bag is deep enough and holds 5–6 plants around the edge.
- Spacing: plant cloves 4–6 inches apart. Utah State uses 3–4 inches in garden rows, but a pot holds less soil and water per plant, so a little extra room helps each bulb size up.
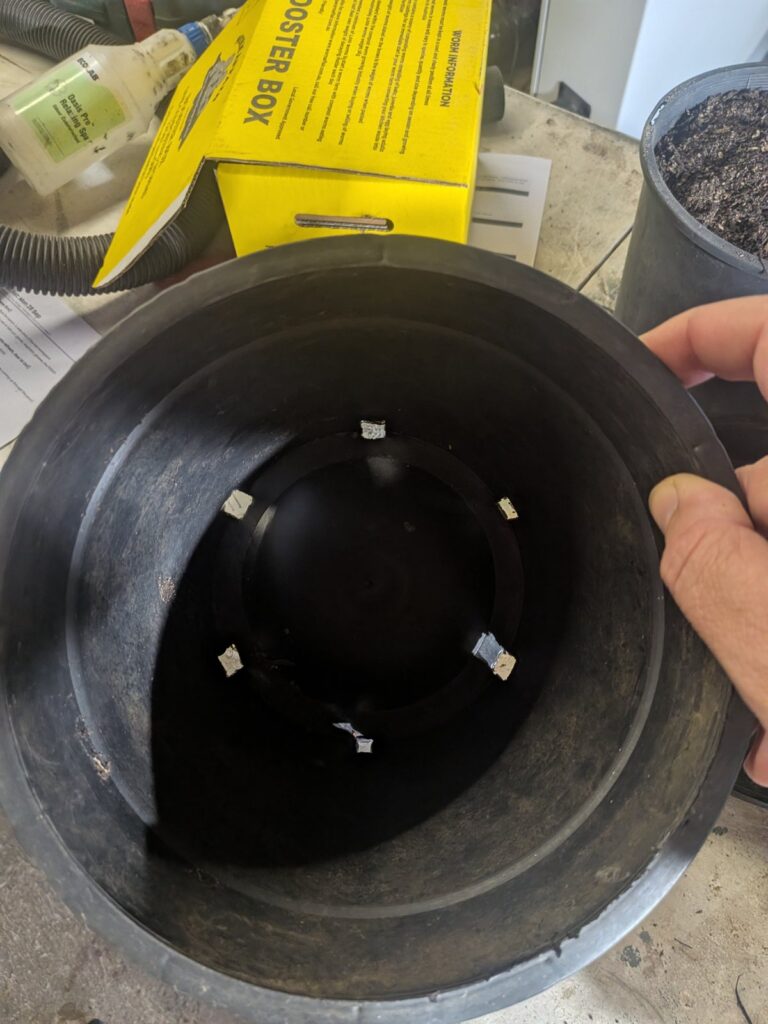
- Drainage: non-negotiable. If you’re reusing a pot, check the holes aren’t blocked. Our pot size and drainage guide covers what “good drainage” actually looks like if you’re not sure.
- Soil: a loose, well-draining potting mix — Miracle-Gro Potting Mix works fine straight from the bag. Skip garden soil in containers; it compacts and drains poorly once it’s confined to a pot.
Softneck or Hardneck?
This is the one decision that actually matters for containers. Softneck garlic (the braidable kind you see in grocery stores) stores longer after harvest, and University of Wisconsin Extension says it’s better adapted to long seasons and mild winters. That makes it the safer choice in warmer zones (roughly zone 8 and up), or if you can’t keep a pot cold all winter. Hardneck garlic has bigger, easier-to-peel cloves and gives you a bonus crop of curly flower stalks, called scapes, in late spring. Wisconsin Extension says hardnecks perform best where winters are long, because garlic needs a period of cold to form a bulb. If you’re in a cold-winter climate and your container sits outside all season, hardneck is a great choice. If you’re not sure your container gets consistently cold, softneck is the lower-risk bet. Either way, buy actual seed garlic from a garden center or seed supplier rather than planting grocery-store garlic. It’s sometimes treated to prevent sprouting and can carry diseases you don’t want in your containers.
When and How to Plant
- Timing: in most of the U.S., plant between late September and November, the window Utah State University Extension gives. University of Minnesota Extension times it more precisely: one to two weeks after the first killing frost. That gives cloves time to grow roots before the pot freezes, without pushing much leaf growth above the soil.
- Prep: break the bulb into individual cloves right before planting, and leave the papery skin on each clove — don’t peel it.
- Depth: push each clove 2–3 inches deep (the depth both Utah State and Minnesota Extension use), pointed end up, flat root end down. Planting upside down doesn’t kill the plant, but it grows a crooked, weaker stem working its way around to find up.
- Mulch: add 3–4 inches of straw or shredded leaves on top after planting, as University of Minnesota Extension recommends. It buffers the temperature swings containers are prone to and keeps weeds down in spring.
- Water in after planting, then ease off — the goal over winter is barely-damp soil, not wet.
Getting It Through Winter
Garlic actually wants the cold — that chilling period is what triggers it to form a proper bulb instead of a single fat clove — so don’t move the container somewhere heated to “protect” it. What you’re protecting against is a container freezing solid all the way through in an extended deep freeze, which can damage roots that a garden bed would have insulated. If you’re expecting a hard cold snap, push the container against a house wall or cluster it with other pots (they insulate each other), and lay a frost cloth loosely over the top for the worst nights — remove it once the snap passes so the mulch underneath doesn’t stay damp and encourage rot. Our frost protection for containers guide goes deeper on this if you’re gardening somewhere with real winters.
Spring and Summer Care
Green shoots will push up in early spring. That’s normal, not a sign anything went wrong over winter. From here, garlic wants steady moisture: University of Minnesota Extension recommends soaking the soil with at least an inch of water a week during the growing season, and a pot in full sun may need more. If you’re growing hardneck, snap off the curly scapes when they appear in late spring and eat them chopped into anything you’d use garlic or green onion in. Wisconsin Extension says leaving scapes on can cut yield by up to 30% in poorly fertilized soil but by less than 5% in well-fertilized soil, so removing them matters most in a pot you haven’t fed. Stop watering about two weeks before harvest (Minnesota’s advice), because wet soil at that stage can rot the bulb right before you dig it.
Harvesting and Curing
Harvest when the lower leaves have turned brown but about half of the upper leaves are still green, which is University of Minnesota Extension’s sign. That’s usually early to mid summer for fall-planted garlic. Loosen the soil around the bulb with a trowel rather than yanking on the stem, which tends to snap it off and leave the bulb behind. Brush off loose soil but don’t wash the bulbs or trim the roots and stems yet. Cure them somewhere warm, dry and airy, out of direct sun (a covered porch or garage works), laid out or loosely bundled so air moves around them. Minnesota suggests three to four weeks. Curing is what gives garlic its long shelf life. Once cured, trim the roots and stem. For storage, Wisconsin Extension says 32°F gives the longest life, up to 7 months, that warmer temperatures cause sprouting, and that humidity encourages rooting. At room temperature, expect hardneck to keep 3–4 months and softneck 6–8 months. A home fridge is cold but damp, so for most kitchens a cool, dry, airy cupboard is the practical choice.
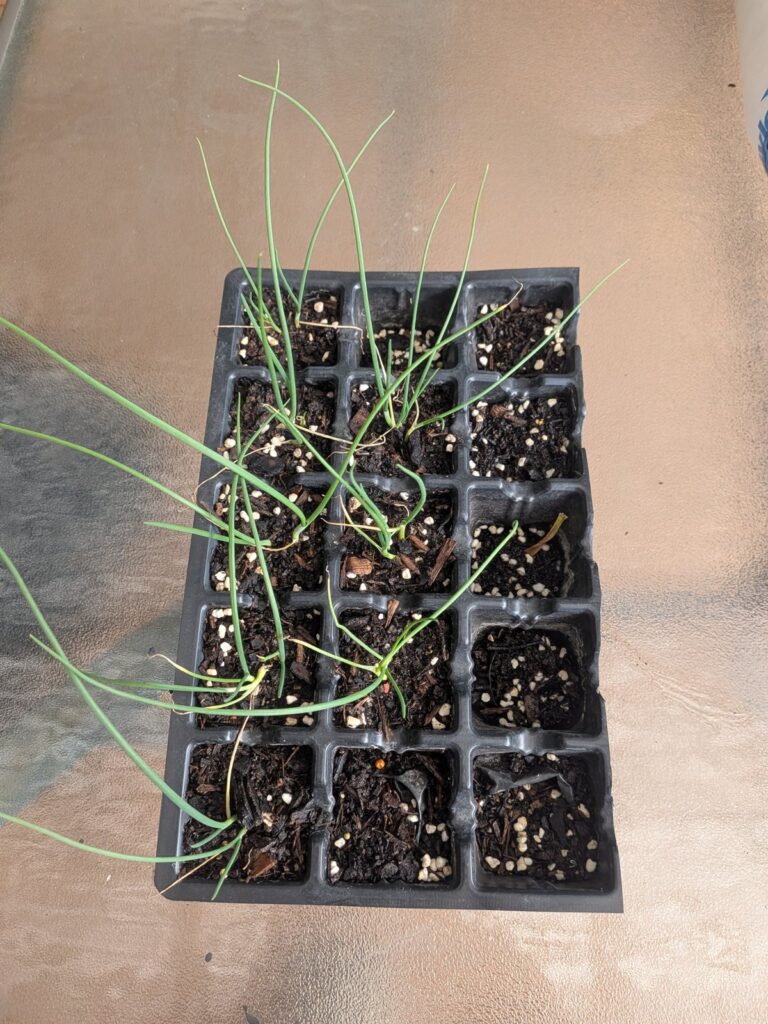
Want another allium for spring? Onions root just as shallowly as garlic and suit the same kind of pot, but they start from seed indoors in late winter. See our guide to growing onions from seed in containers.
Common Mistakes
- Planting too late. Cloves need a few weeks to root before a hard freeze. Planted too late, they either don’t establish or heave out of the soil during winter freeze-thaw cycles.
- Skipping the cold. If you’re in a mild climate (say, zone 9+) and growing hardneck garlic, it may not get enough cold to bulb properly. Switch to softneck, which Wisconsin Extension says is better adapted to mild winters, or pre-chill hardneck cloves in the fridge for several weeks before planting, as many warm-climate growers do.
- Watering all winter like it’s summer. Dormant garlic in soggy soil rots. Barely-damp is the target from first frost until spring growth resumes.
- Harvesting too early or too late. Too early and the bulb hasn’t finished sizing up; too late and the cloves split apart inside a papery wrapper that’s started to degrade, which hurts storage life.
Quick Answers: Growing Garlic in a Pot
How deep does a pot need to be for garlic?
At least 10–12 inches. Garlic roots grow down before they spread out, and a shallow pot stunts the bulb. A 10-gallon fabric grow bag is a good size.
How many garlic cloves can I plant in one pot?
Space cloves 4–6 inches apart. A 10-gallon grow bag fits about 5–6 cloves planted around the edge. Planting closer gives you more plants but smaller heads.
When should I plant garlic in a container?
In most of the U.S., between late September and November. University of Minnesota Extension times it for one to two weeks after the first killing frost, so the cloves root before the pot freezes.
Can I plant garlic from the grocery store?
It’s better not to. Grocery-store garlic is sometimes treated to stop sprouting and can carry disease. Buy seed garlic from a garden center or seed supplier instead.
Can I keep my garlic pot indoors over winter?
Not somewhere heated. Garlic needs a period of winter cold to form a proper bulb, and hardneck needs the most. Keep the pot outside, or in an unheated spot like a garage, and only protect it from a deep freeze.
If this is your first overwintering crop, our Start Here guide covers the basics of picking a container and a first plant — garlic is a good second project once you’ve got a summer crop under your belt. And if you want the full year mapped out, our Recommended Gear page has the grow bags, potting mix, and frost cloth mentioned above, plus the rest of the gear we recommend.
A garage is also a good place to overwinter dormant garlic pots out of the wind — our guide to growing vegetables in a garage covers what else you can grow there through the cold months.
Garlic that yellows early or rots in the pot is almost always a moisture or drainage issue — cross-check against our full symptom-by-symptom troubleshooting guide if something looks wrong.