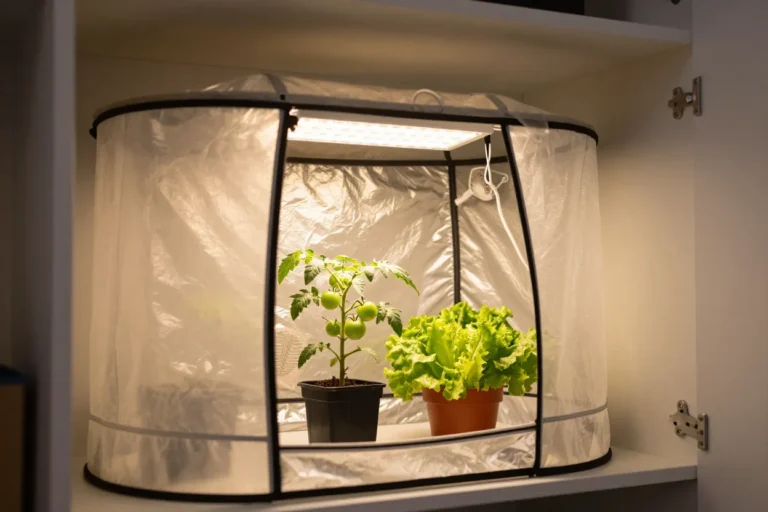

How to Grow Microgreens Without Sunlight (Any Season, Any Apartment)
First, to be honest about the title: you can’t grow microgreens with no light. What you can do is grow a full tray without any sunlight: on a north-facing counter, in a windowless kitchen, or on a shelf in a dim apartment, using a cheap light instead of the sun. Microgreens are the easiest crop to grow this way, because they’re ready to eat in one to three weeks and never need to flower or fruit.
Quick answer: Sow seeds thickly on an inch of moist potting mix, keep the tray covered and dark for 2–4 days, then put it under an LED grow light or shop light 3–4 inches above the tops for about 15–16 hours a day. Water from below and harvest with scissors at 7–21 days, when the first true leaves appear. A normal room lamp or a dim window gives pale, floppy greens.
In this guide: Why microgreens suit a dark apartment · How much light they really need · What you need · Best microgreens to start with · Step by step · Common mistakes · Food safety and storage · FAQ
Why Microgreens Suit a Dark Apartment
Microgreens are seedlings cut when they are 2–3 inches tall, usually 7 to 21 days after sowing, according to University of Maryland Extension. At that stage the seed has already packed in enough nutrients, so UMD notes you don’t need to fertilize at all. The plants don’t need weeks of strong light to build up size or set fruit. They only need enough light to turn green and grow stocky for a week or two.
That’s why they fit a small, shaded home so well. A tomato under a weak light never produces much. A tray of microgreens under a $20–$40 light gives you a full harvest every week or two, all year.
How Much Light Microgreens Really Need
This is where most “no sunlight” advice goes wrong. Ordinary room lighting is far too dim. Extension guides agree on a long day under lights placed close to the plants:
- Hours: about 15 hours a day (Oregon State), about 16 hours (Maryland), or 18 hours on and 6 off (Utah State).
- Distance: as close as 3 inches above the plants (Oregon State), about 4 inches (Clemson), or 6–12 inches for stronger fixtures (Maryland). A basic LED shop light or fluorescent tube works. Clemson notes that a simple fluorescent bulb is enough.
- Windows: a sunny, south-facing window can work instead of a light, according to Utah State and Penn State. A north-facing window usually won’t give enough light on its own, especially in winter.
If your light is too weak or too far away, Oregon State Extension explains that microgreens lean and stretch towards it, which it calls leggy but still edible. So a dim spot won’t kill the crop, but it makes a weaker, floppier one. Put the light on a plug-in timer and you never have to think about it.
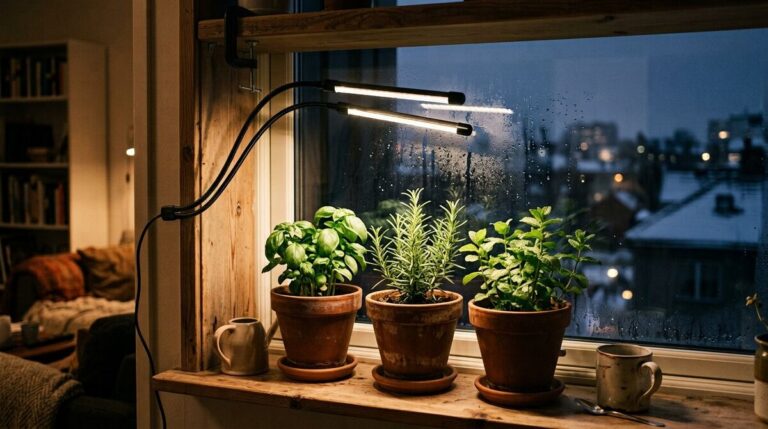
Need help choosing a light? Our grow lights for indoor vegetables roundup has picks sized for a tray or a shelf.
What You Need
- A shallow tray with drainage holes. A washed food container with holes poked in the bottom works fine.
- A second tray or plate underneath to hold water.
- Seed-starting or potting mix, not garden soil. Clemson Extension advises against garden soil, manure or compost, which can carry bacteria onto a crop you eat raw.
- Seeds sold for microgreens or sprouting, or labelled untreated. Never use seed coated with fungicide.
- A spray bottle for the first few days.
- A cover for the blackout stage: a second tray turned upside down, a plate or a sheet of foil.
- A light and a timer, unless you have a bright south-facing window.
Best Microgreens to Start With
Harvest times below are from Clemson Extension’s growing chart. Warmer rooms and brighter light make them faster.
| Microgreen | Days to harvest | Flavor | Beginner notes |
|---|---|---|---|
| Broccoli | 8–10 | Mild broccoli | Very reliable; small seed, fast to sprout |
| Sunflower | 8–12 | Nutty | Soak seed first; hulls may need brushing off |
| Basil | 8–12 | Strong basil | Keep warm; slower to sprout |
| Kale | 10–15 | Mild, earthy | Forgiving and quick to green up |
| Pea shoots | 10–15 | Sweet | Soak seed first; big, filling harvest |
| Beet | 11–21 | Earthy | Pretty red stems; slowest of this list |
Radish, arugula and mustard are also fast and spicy. Utah State lists arugula at 6–8 days. Maryland Extension notes that lettuce, arugula, mustards and Asian greens handle weaker light better than most. Do not grow tomatoes, peppers, eggplant or tomatillos as microgreens. Oregon State Extension warns that nightshade stems and leaves contain toxins.
Step by Step
- Soak big seeds. Soak peas and sunflower seeds for 8–12 hours, then rinse (Penn State). Small seeds like broccoli and radish go in dry.
- Fill and sow thickly. Fill the tray with 1–1½ inches of moist mix (Maryland). Scatter seed so it almost touches. As a guide, UMD uses about 1 tablespoon (10–15 g) of small seed for a standard 10×20-inch tray, while Utah State uses about 150 g of peas. Press seed onto the surface; there’s no need to bury it.
- Keep it dark for 2–4 days. Mist, then cover the tray. The darkness makes stems stretch a little, which makes harvesting easier (Maryland). Penn State notes that peas and sunflowers do better with a little weight on the cover. Keep the room around 70–75°F.
- Uncover as soon as you see stems. Pale yellow shoots pushing up against the cover mean it’s time. Leaving the cover on longer makes weak, pale stems that are more likely to rot.
- Move them under light right away. Put the tray under your light (15–16 hours a day, 3–4 inches above the tops) or in your brightest window. They turn from yellow to green within a day or two.
- Water from below. Pour water into the bottom tray and let the mix soak it up. Keep it moist but never soggy. Penn State recommends bottom watering so water stays off the greens.
- Harvest at 7–21 days. Cut with clean scissors just above the soil once the first true leaves appear, or a little earlier for a milder taste.
Common Mistakes
- Relying on room light. This is the most common problem with “no sunlight” growing. The greens come up but stay pale and floppy. The fix is a proper light, set close to the plants, on for a long day.
- Mold. Caused by soggy mix, poor airflow or cold, wet conditions (Oregon State and Penn State). Bottom-water, drain off extra water and give the room some fresh air.
- Mistaking root hairs for mold. Radish, broccoli and other seedlings grow fine white root hairs near the soil that look fuzzy. They’re normal. Mold looks grey and cobwebby, spreads over stems and soil, and smells musty.
- Uneven growth. Usually from patchy sowing or a tray that isn’t level, so water pools at one end.
- Harvesting too late. Past the first true leaves, stems get tougher and flavor turns stronger or bitter.
Food Safety and Storage
Microgreens are usually eaten raw, so keep things clean:
- Wash trays and containers with soap and water before reusing them (Clemson). Penn State’s food-safety guidance adds that you can’t sanitize dirt, so clean first.
- Use clean potting mix, never garden soil or manure-based compost.
- Cut above the mix so no soil gets on the greens.
- Store them unwashed in the fridge. Oregon State suggests wrapping them in a paper towel in a plastic bag for 1–2 days. Rinse them in clean water just before eating, not before storing (Clemson and Penn State).
Where to Go Next
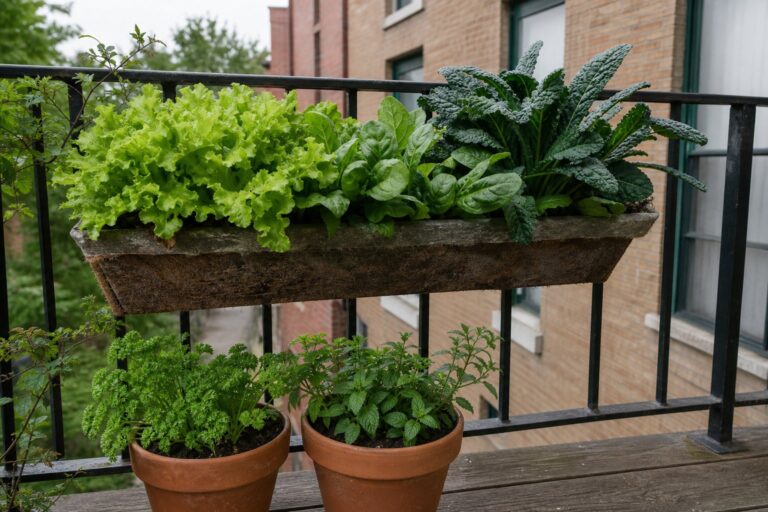
Microgreens pair well with slower fall crops. See our guide to growing spinach on a balcony in fall for a crop that takes weeks instead of days, or the Fall Container Setup: 30-Day Plan. If you get only a few hours of daylight outdoors, see the best vegetables for a shady or north-facing balcony.
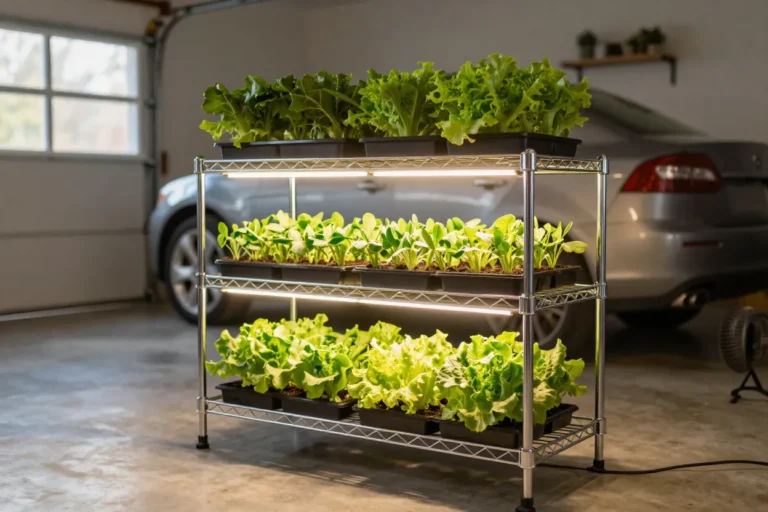
For a bigger indoor setup, our indoor vegetable gardening guide covers lights, containers and what else grows on a shelf. If something looks off, check why container vegetables die, by symptom. When you’re ready for fruiting crops indoors, see our grow tent picks or growing vegetables in a garage.
Frequently Asked Questions
Can you grow microgreens with no sunlight at all?
Not with no light at all, but you don’t need sunlight. A cheap LED grow light or shop light a few inches above the tray, on for about 15–16 hours a day, does the whole job. Oregon State and University of Maryland Extension both describe growing them entirely under lights.
How many hours of light do microgreens need?
Extension guides land between 15 and 18 hours of artificial light a day: about 15 hours (Oregon State), about 16 hours (University of Maryland) or 18 hours on and 6 off (Utah State). A plug-in timer makes this automatic.
Why are my microgreens tall, pale and falling over?
They are short of light. Oregon State Extension notes that dim light makes microgreens lean and stretch, which it calls leggy but still edible. Uncover them as soon as stems appear and move the light closer, about 3–4 inches above the tops.
Is the white fuzz on my microgreens mold?
Often it is root hairs, not mold. Root hairs are fine, even and cling to the roots near the soil, and they disappear when misted. Mold is a grey, cobweb-like growth that spreads across stems and soil and smells musty. If it’s mold, compost the tray and cut back on watering.
Do microgreens grow back after cutting?
No. University of Maryland Extension notes that microgreens are a single harvest, so sow a new tray every week or so for a steady supply. Baby greens (cut at 3–6 weeks) can regrow for 1–2 more cuttings.
Sources we checked
- University of Maryland Extension: Growing Microgreens and Baby Greens Indoors
- Oregon State University Extension: Microgreens
- Utah State University Extension: Grow Your Own Microgreens
- Penn State Extension: A Step-By-Step Guide for Growing Microgreens at Home
- Penn State Extension: Ensuring Food Safety in Microgreens Production
- Clemson Cooperative Extension HGIC: Growing Microgreens