
Growing Spinach on a Balcony in Fall: The Easiest Cool-Season Crop
Fall is when spinach is at its best.
After months of fighting summer heat, fall spinach is almost easy. No more bolting. No more bitter leaves. No more watering twice a day. It’s cool, it’s forgiving, and you can grow enough to actually eat from a balcony pot.
This post contains affiliate links, meaning we may earn a small commission at no extra cost to you — full details are on our Affiliate Disclosure page.
If you’ve never grown anything before, spinach is where you start. If you’ve already grown things, spinach is your fallback crop when everything else is complicated. It’s that good.
Here’s how to grow spinach on a balcony this fall, from seed to harvest.
Why Spinach Is the Fall Crop Everyone Should Grow
It’s fast. University of Maryland Extension puts spinach at 28 to 55 days from seed, depending on the variety, and you can start picking baby leaves before plants reach full size. Sow in September and you can be eating it in October.
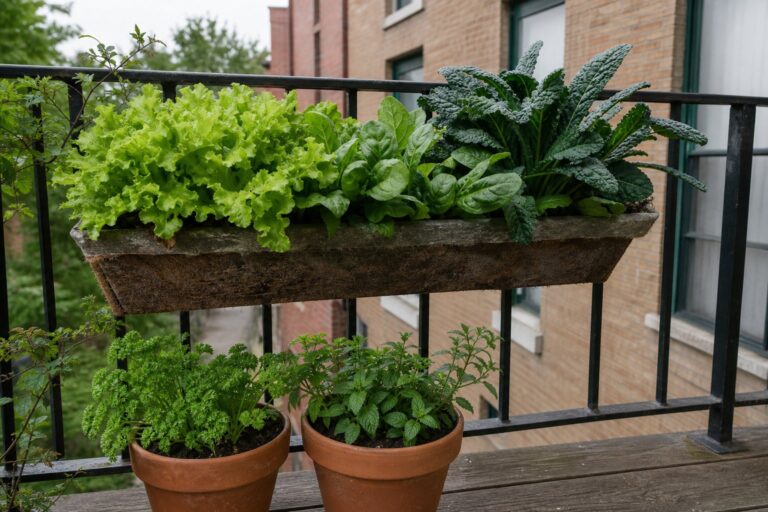
It’s small-space friendly. Spinach needs only about 3 inches between plants to start, and roughly 6 inches once it’s bigger (UMD). A 12-inch-wide pot comfortably holds 4 plants grown to full size, or more if you pick them young. A railing planter works. A window box works. An old storage tub with drainage holes works.
Fall is the season it wants. Spinach bolts (sends up a flower stalk and turns bitter) when days get long and temperatures rise, which is why spring crops so often fail by early summer. Arugula works the same way; our guide to why arugula bolts shows what it looks like. In fall the days are getting shorter and cooler, so the plants stay in leaf-making mode.
Fewer pests. Clemson Extension names aphids as spinach’s main insect problem, and cooler weather slows them down.
It shrugs off frost. UMD calls spinach a hardy annual that can take heavy frosts, and Clemson says mature plants tolerate temperatures down to about 20°F. With some protection, UMD says you can keep harvesting into December.
What You’ll Need
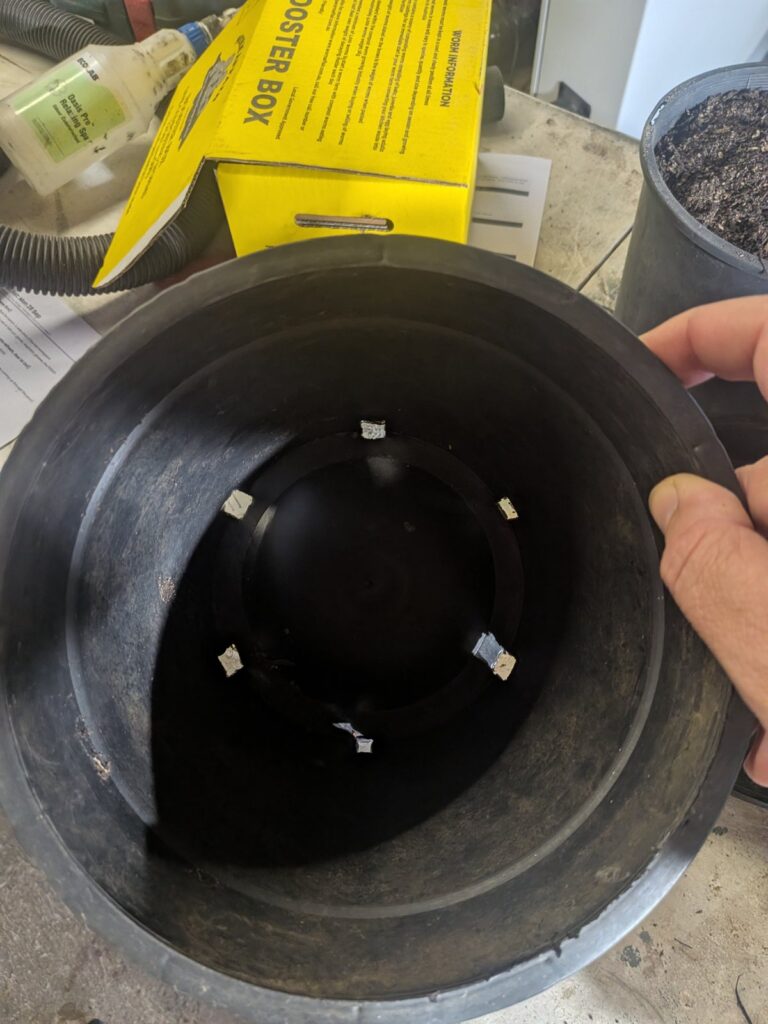
- A container, at least 6–8 inches deep with drainage holes. Ideally at least 12 inches wide so you can grow multiple plants. RooTrimmer’s 5-gallon plastic nursery pots already have drainage holes punched in.
- Potting soil (fresh is better than reused summer soil — here’s why). Miracle-Gro’s Potting Mix is a solid bagged option.
- Spinach seeds. ‘Bloomsdale’, ‘Tyee’ and ‘Space’ all do well in fall (more on varieties below).
- A balcony, patio, or windowsill that gets at least 4 hours of direct sun. Spinach can tolerate some shade, but sunlight means faster growth and better flavor.
- Water. That’s it.
One big note: use seed from this year or last. Spinach seed loses vigor as it ages, and fall doesn’t leave much time to resow a batch that fails.
Step 1: Choose Your Spinach Variety
Any true spinach grows well in fall, but some varieties handle cold and disease better. Good choices for a balcony pot:
- ‘Bloomsdale’: the classic crinkly-leaved type. Slow to bolt and very cold-hardy.
- ‘Tyee’: semi-crinkled leaves with resistance to downy mildew, one of spinach’s most common diseases. Clemson recommends it for that reason.
- ‘Space’: smooth leaves that are easier to wash than the crinkly types, and a compact habit that suits pots.
- ‘Winter Bloomsdale’: bred for overwintering. Worth trying if you want plants to carry through to spring.
Days to harvest vary by variety, so check the seed packet and count back from your first frost date (see the mistakes section below).
What to avoid: heat-loving “summer spinach” such as Malabar or New Zealand spinach. Despite the name, they aren’t true spinach, and they can’t take cold.
Step 2: Fill Your Container
This is straightforward, but gets rushed.
- Pick your pot. A 12-inch terracotta pot, a plastic storage container, a railing planter, or even a 5-gallon bucket (if it has drainage holes) works. Spinach roots are shallow — 6–8 inches is plenty.
- Make sure there are drainage holes. No drainage means waterlogged soil means rot. Drill holes if needed — a 3/8-inch drill bit takes 30 seconds.
- Fill with fresh potting soil, leaving about 1 inch of headspace at the top. Don’t compact it too much.
- Water until it drains. This settles the soil and confirms the drainage works.
Why fresh soil? Used summer soil is depleted and might harbor disease spores from old plants. Fresh potting mix is sterile, holds moisture better, and has the nutrients spinach needs. You’re only using a bag or two of soil per pot. The cost isn’t huge.
Step 3: Sow Your Seeds
Spinach seeds are tiny. Here’s the move:
- Poke holes in the soil about 1/2 inch deep, spaced 2–3 inches apart. (If you’re growing 4 plants in a 12-inch pot, make 4 holes evenly spaced.)
- Drop one or two seeds in each hole. If both germinate, you’ll thin later.
- Cover lightly with soil — just enough to hide the seed. Don’t bury it deep; shallow is better.
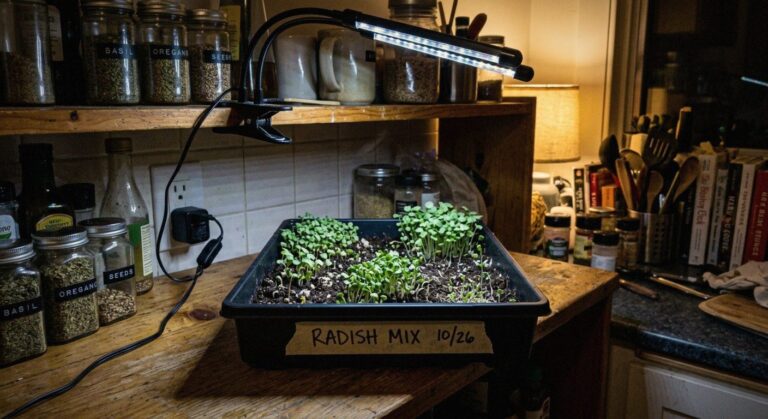
- Mist gently with water until the top inch of soil is moist, not soggy. A spray bottle is easier to control than pouring.
- Place the pot in a spot that gets morning sun. Spinach sprouts best in mild soil: Utah State Extension gives 55–65°F as ideal and says germination drops above 80°F, so in a warm September keep the pot out of hot afternoon sun until the seedlings are up. You also want plenty of light for the seedlings once they pop up.
Germination timeline: 5–14 days, depending on temperature. Cool weather means slower germination. Be patient.
Step 4: Baby Spinach Seedlings
Once your seedlings poke through, you’ll see a little sprout with two seed leaves. After that, the work is mostly waiting.
Watering: Check the soil daily. Water when the top inch feels dry, and aim for moist, not soggy. Water gently at the base so you don’t flatten tiny seedlings.
Light: Give the pot as much direct sun as your balcony offers, and at least 4 hours. Fall days are short (about 12 hours of daylight at the September equinox, and less every week after), so every hour of sun counts. Seedlings that stretch tall and pale are asking for more light.
Thinning: When seedlings have their first true leaves, snip the extras at soil level with scissors so plants stand about 3 inches apart. Don’t pull them out, because that disturbs the roots of the ones you’re keeping. Later, as leaves start to crowd, harvest every other plant whole so the rest end up about 6 inches apart, UMD’s final spacing. The thinnings are your first salad.
At this stage you’re keeping the soil moist and letting the plants grow. There’s not much else to do.
Step 5: Bigger Leaves (2–3 Weeks Before Harvest)
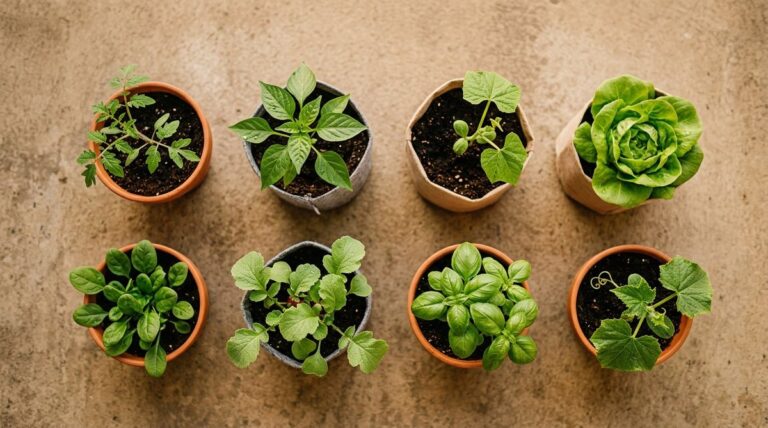
A few weeks after sprouting, your plants will look like actual spinach, with several true leaves each.
Feeding: Fresh potting mix carries enough nutrients for the first few weeks. If growth slows or leaves turn pale, feed with a half-strength liquid fertilizer every couple of weeks.
Light check: As the sun drops lower each week, a spot that was sunny in September can be shaded by the balcony above by October. Move the pot if it now gets less than 4 hours of direct sun.
Watch for pests: Check leaf undersides for aphids, which Clemson flags as spinach’s main pest because they spread viruses. Rinse them off with a spray of water, or use insecticidal soap. Pale, winding trails or blotches inside the leaves are leafminer damage, one of the problems UMD lists; pick off and bin affected leaves.
Step 6: Harvest Your Spinach
This is where it gets fun.
Option 1: Pick leaves as you go (best for balconies). Once plants have 5–6 leaves, start picking outer leaves when they’re 3 to 6 inches long, leaving the center to keep growing. That’s Clemson’s advice, and UMD notes that cutting full-size leaves encourages new ones to grow from the crown. A pot handled this way keeps producing for weeks.
Option 2: Harvest whole plants. Let plants grow to full size, then cut them at the base. You get a bigger haul at once, but that pot is done.
Our suggestion: mix both. Pick outer leaves for a few weeks, then take the last plants whole before the weather turns really cold, or leave a few in to try overwintering.
What frost does: Light frost doesn’t hurt established spinach, and leaves often taste sweeter after cold nights. Mature plants handle temperatures down to about 20°F (Clemson). Colder than that, container plants are at more risk than garden plants, because the soil in a pot freezes faster than the ground. The frost section at the end of this guide covers how to protect them.
Overwintering: Utah State University Extension says spinach with 4–5 true leaves by late fall can survive winter if it’s heavily mulched, and it starts growing again in spring. In a pot, move it against a house wall and wrap the container for the best chance.
Flavor and Cooking Tips
Fall spinach is genuinely good — mild, sweet, and tender. Use it raw in salads while young, since it’s less bitter than summer spinach. Sauté it in a little butter or oil for 2–3 minutes. Blend it into smoothies, or blanch and freeze it for winter cooking.
Flavor tip: the smaller the leaves (harvested young), the sweeter they taste. Mature leaves are a bit more earthy. Both are good — it depends what you want.
Common Fall Spinach Mistakes
“I planted seeds too late.” Utah State Extension’s rule of thumb: pick a target harvest date 1–2 weeks after your average first frost, then sow 50–75 days before it. With a first frost around October 25, that means sowing between mid-August and mid-September. If you’re later than that, sow anyway and pick baby leaves. A small harvest beats none.
“I sowed during a heat wave.” Spinach seed sprouts poorly in hot soil; Clemson says temperatures above 85°F inhibit germination. If late summer is still hot where you are, sow in the evening, keep the pot shaded until seedlings appear, or wait for a cooler week.
“I keep it too wet.” Spinach doesn’t like soggy soil; it rots. Check before watering. If the soil is moist, wait a day.
“My balcony is too shady.” Spinach will grow with 3–4 hours of direct sun, just more slowly. With less than that, grow it for baby leaves and expect smaller harvests. Our guide to vegetables for a shady or north-facing balcony covers what else works.
What to Do After Your Spinach Is Done
Once you harvest and the plant is done, don’t throw the pot away. You can replant spinach seeds in the same container in October for a November or December harvest, depending on your zone. Just refresh the top 2–3 inches of soil with fresh potting mix. Or try the same pot with lettuce, arugula, or Asian greens in late fall.
Next: Protect Your Spinach From Frost
If spinach is your first fall crop and you’re planning to harvest through October or into November, you’ll eventually hit frost. The good news: mature spinach is fairly cold-hardy. If you want to extend your harvest through a hard freeze, read our guide on frost protection for containers to learn how to keep plants going. And if you haven’t set up your fall containers yet, start with our 30-day fall container setup plan.
For now: get your seeds, get your pot ready, and plant this week. You’ll have fresh spinach in October. It’s almost ridiculous how well this works.